
Welcome to KiwiNode! We’re excited to have you here.
Whether you're hosting a Minecraft server, preparing for Hytale, or just trying game server hosting for the first time, this guide will walk you through the basics and help you get up and running in just a few minutes.
Step 1: Place Your First Order
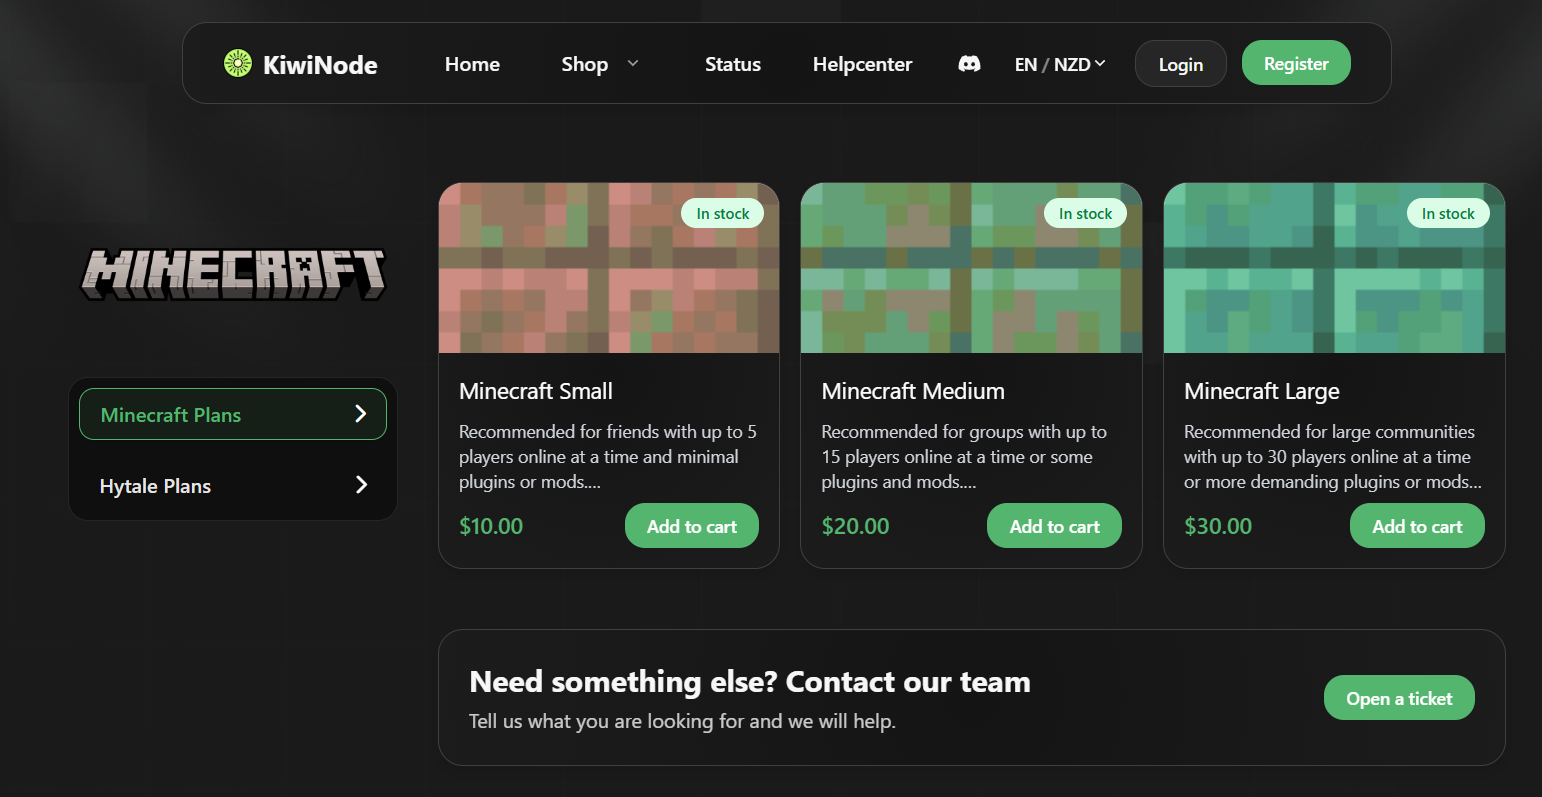
To get started, head to our shop and choose the server plan that fits what you need.
Once you’ve selected a plan, you’ll be able to configure options like:
Server hardware
Billing cycle (weekly, monthly or quarterly)
Addons such as extra CPU threads or storage
Step 2: Complete Checkout
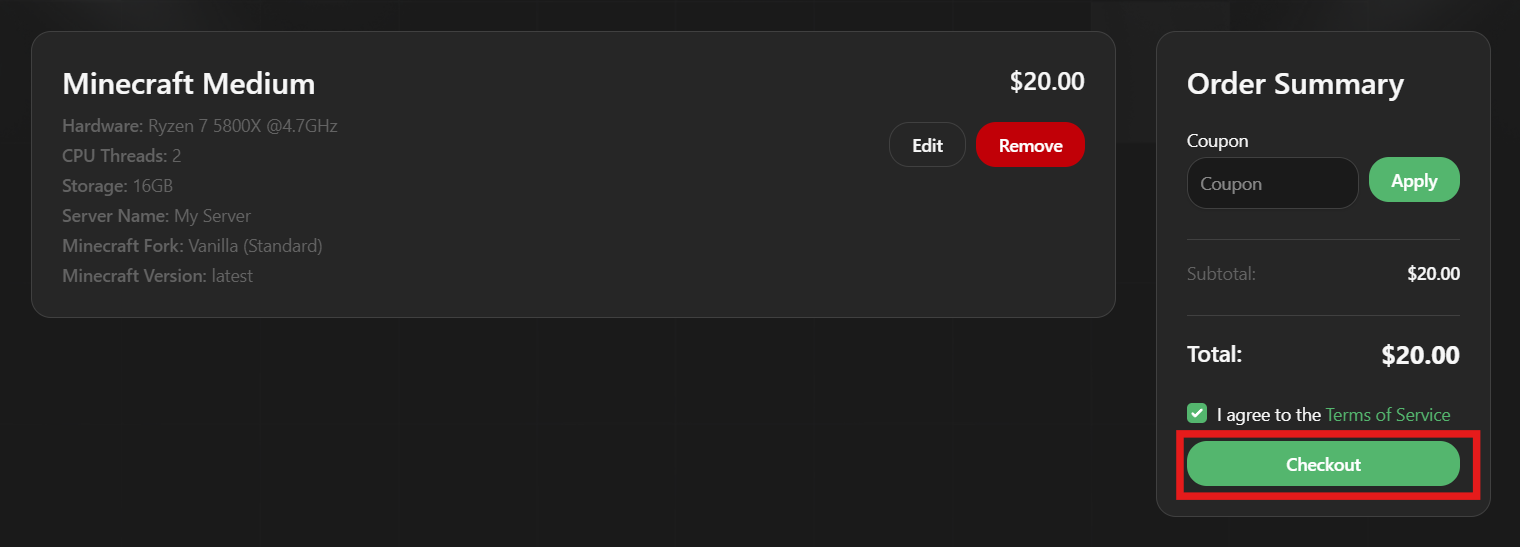
After configuring your server, proceed to checkout to review your order and complete payment.
Once payment is successful, your service will begin setting up automatically.
Step 3: Access Your Dashboard
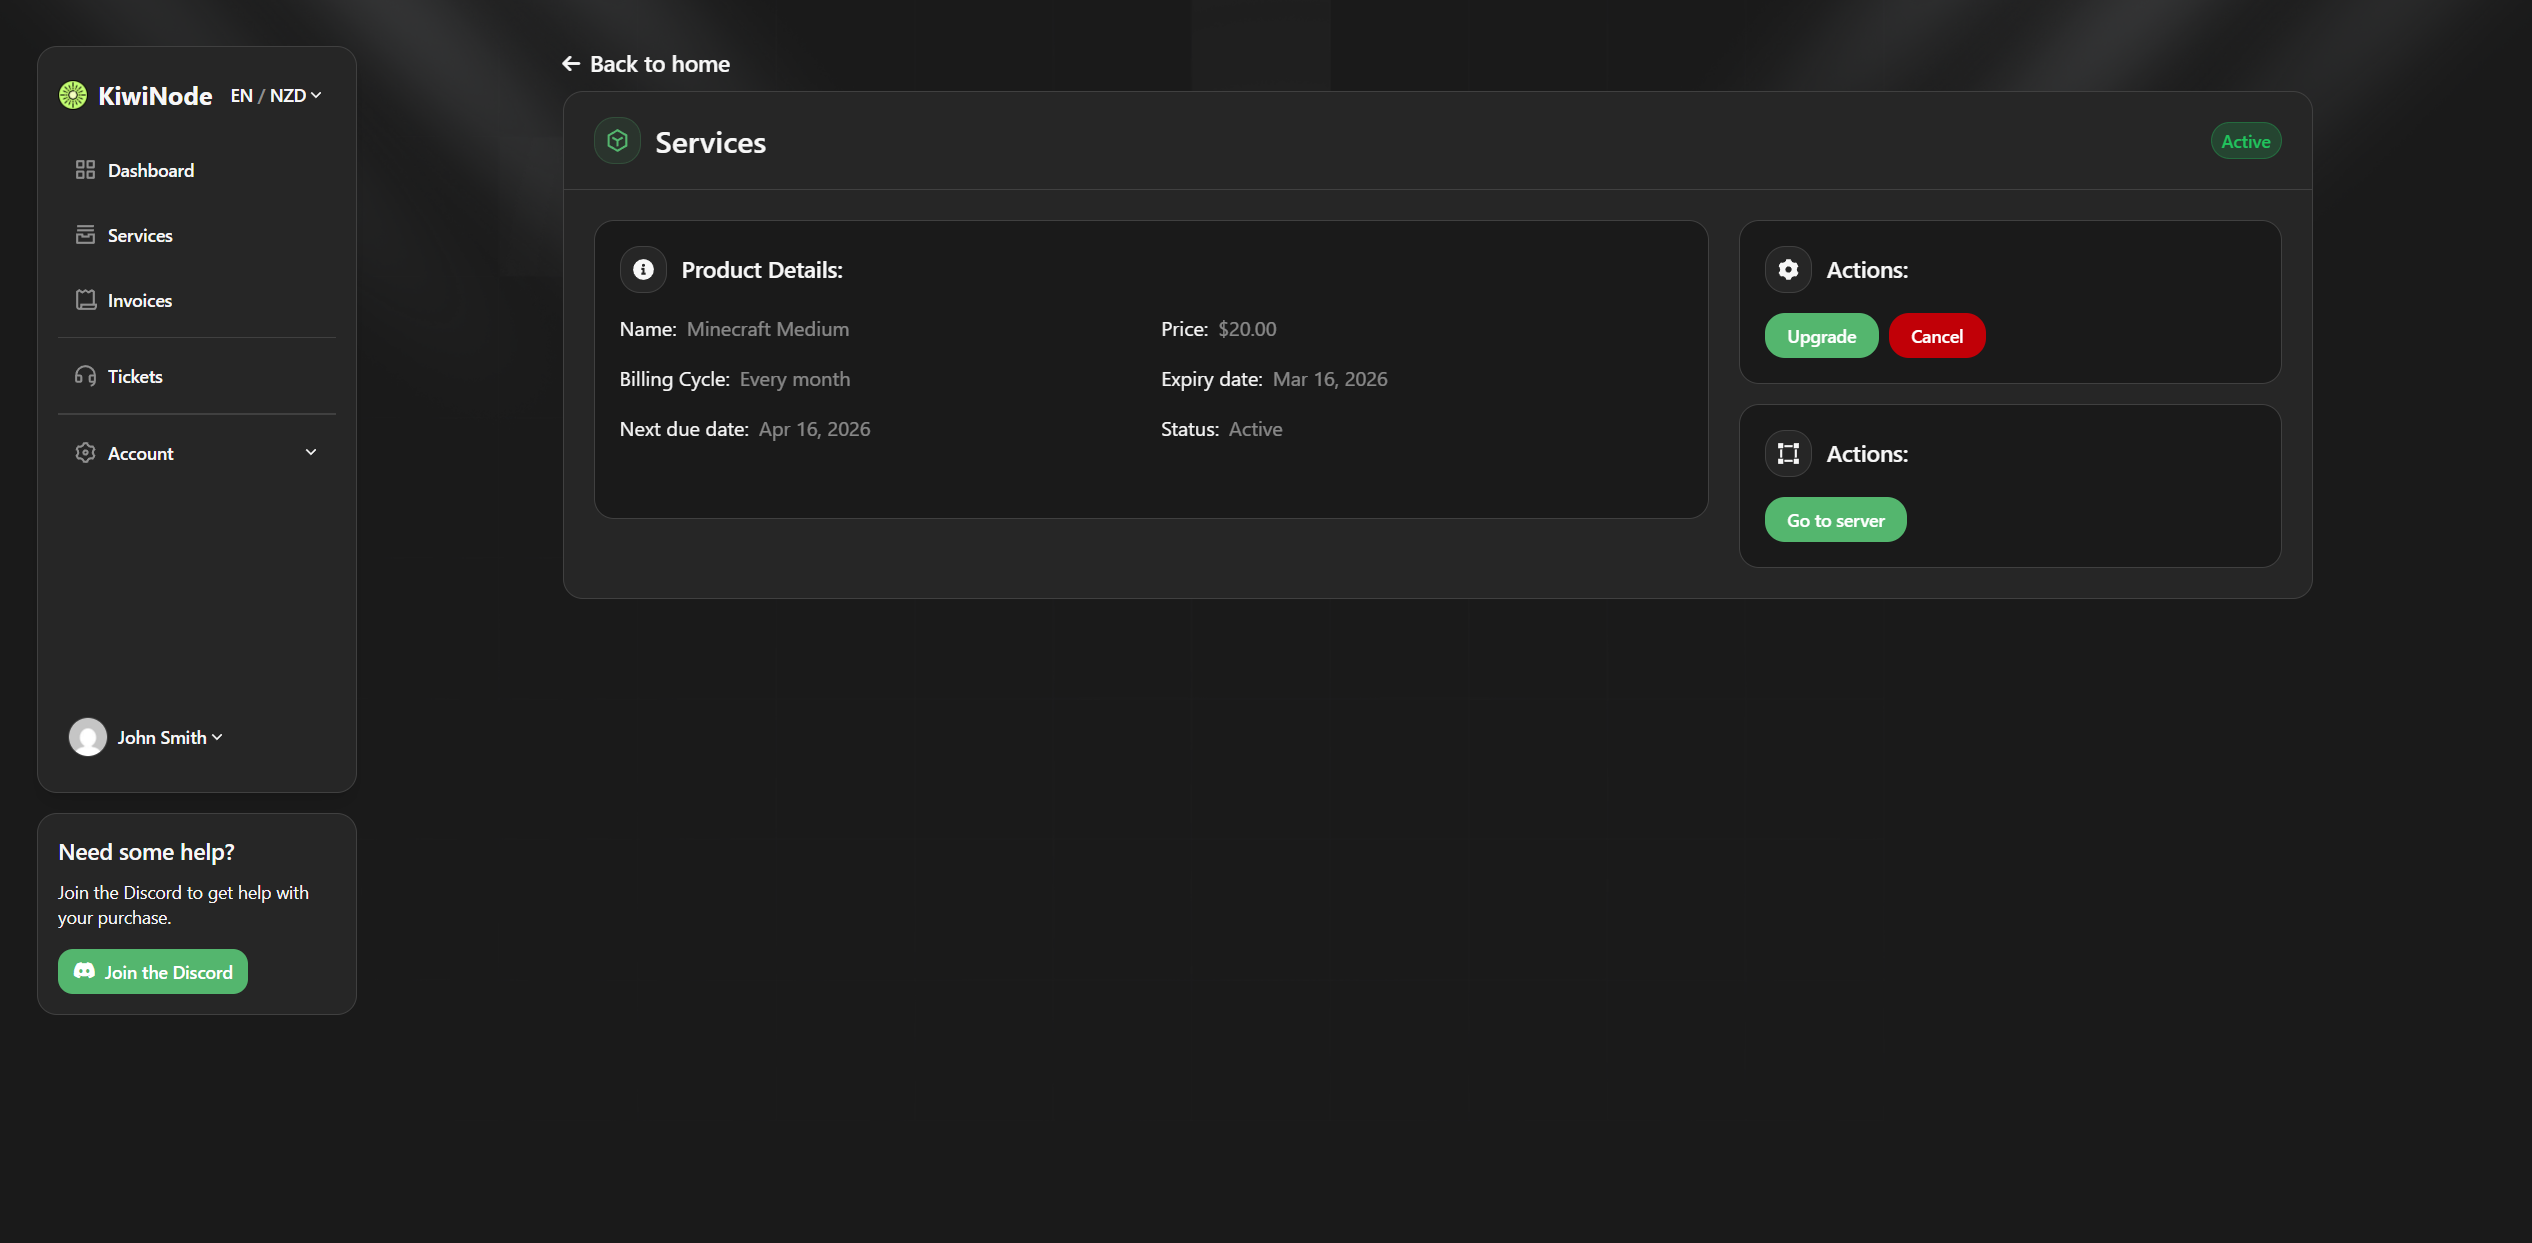
After ordering, you can manage everything from your KiwiNode dashboard.
From there, you can:
View your active services
Access the game panel
Upgrade or manage your plan
Open support tickets
Step 4: Open Your Game Panel
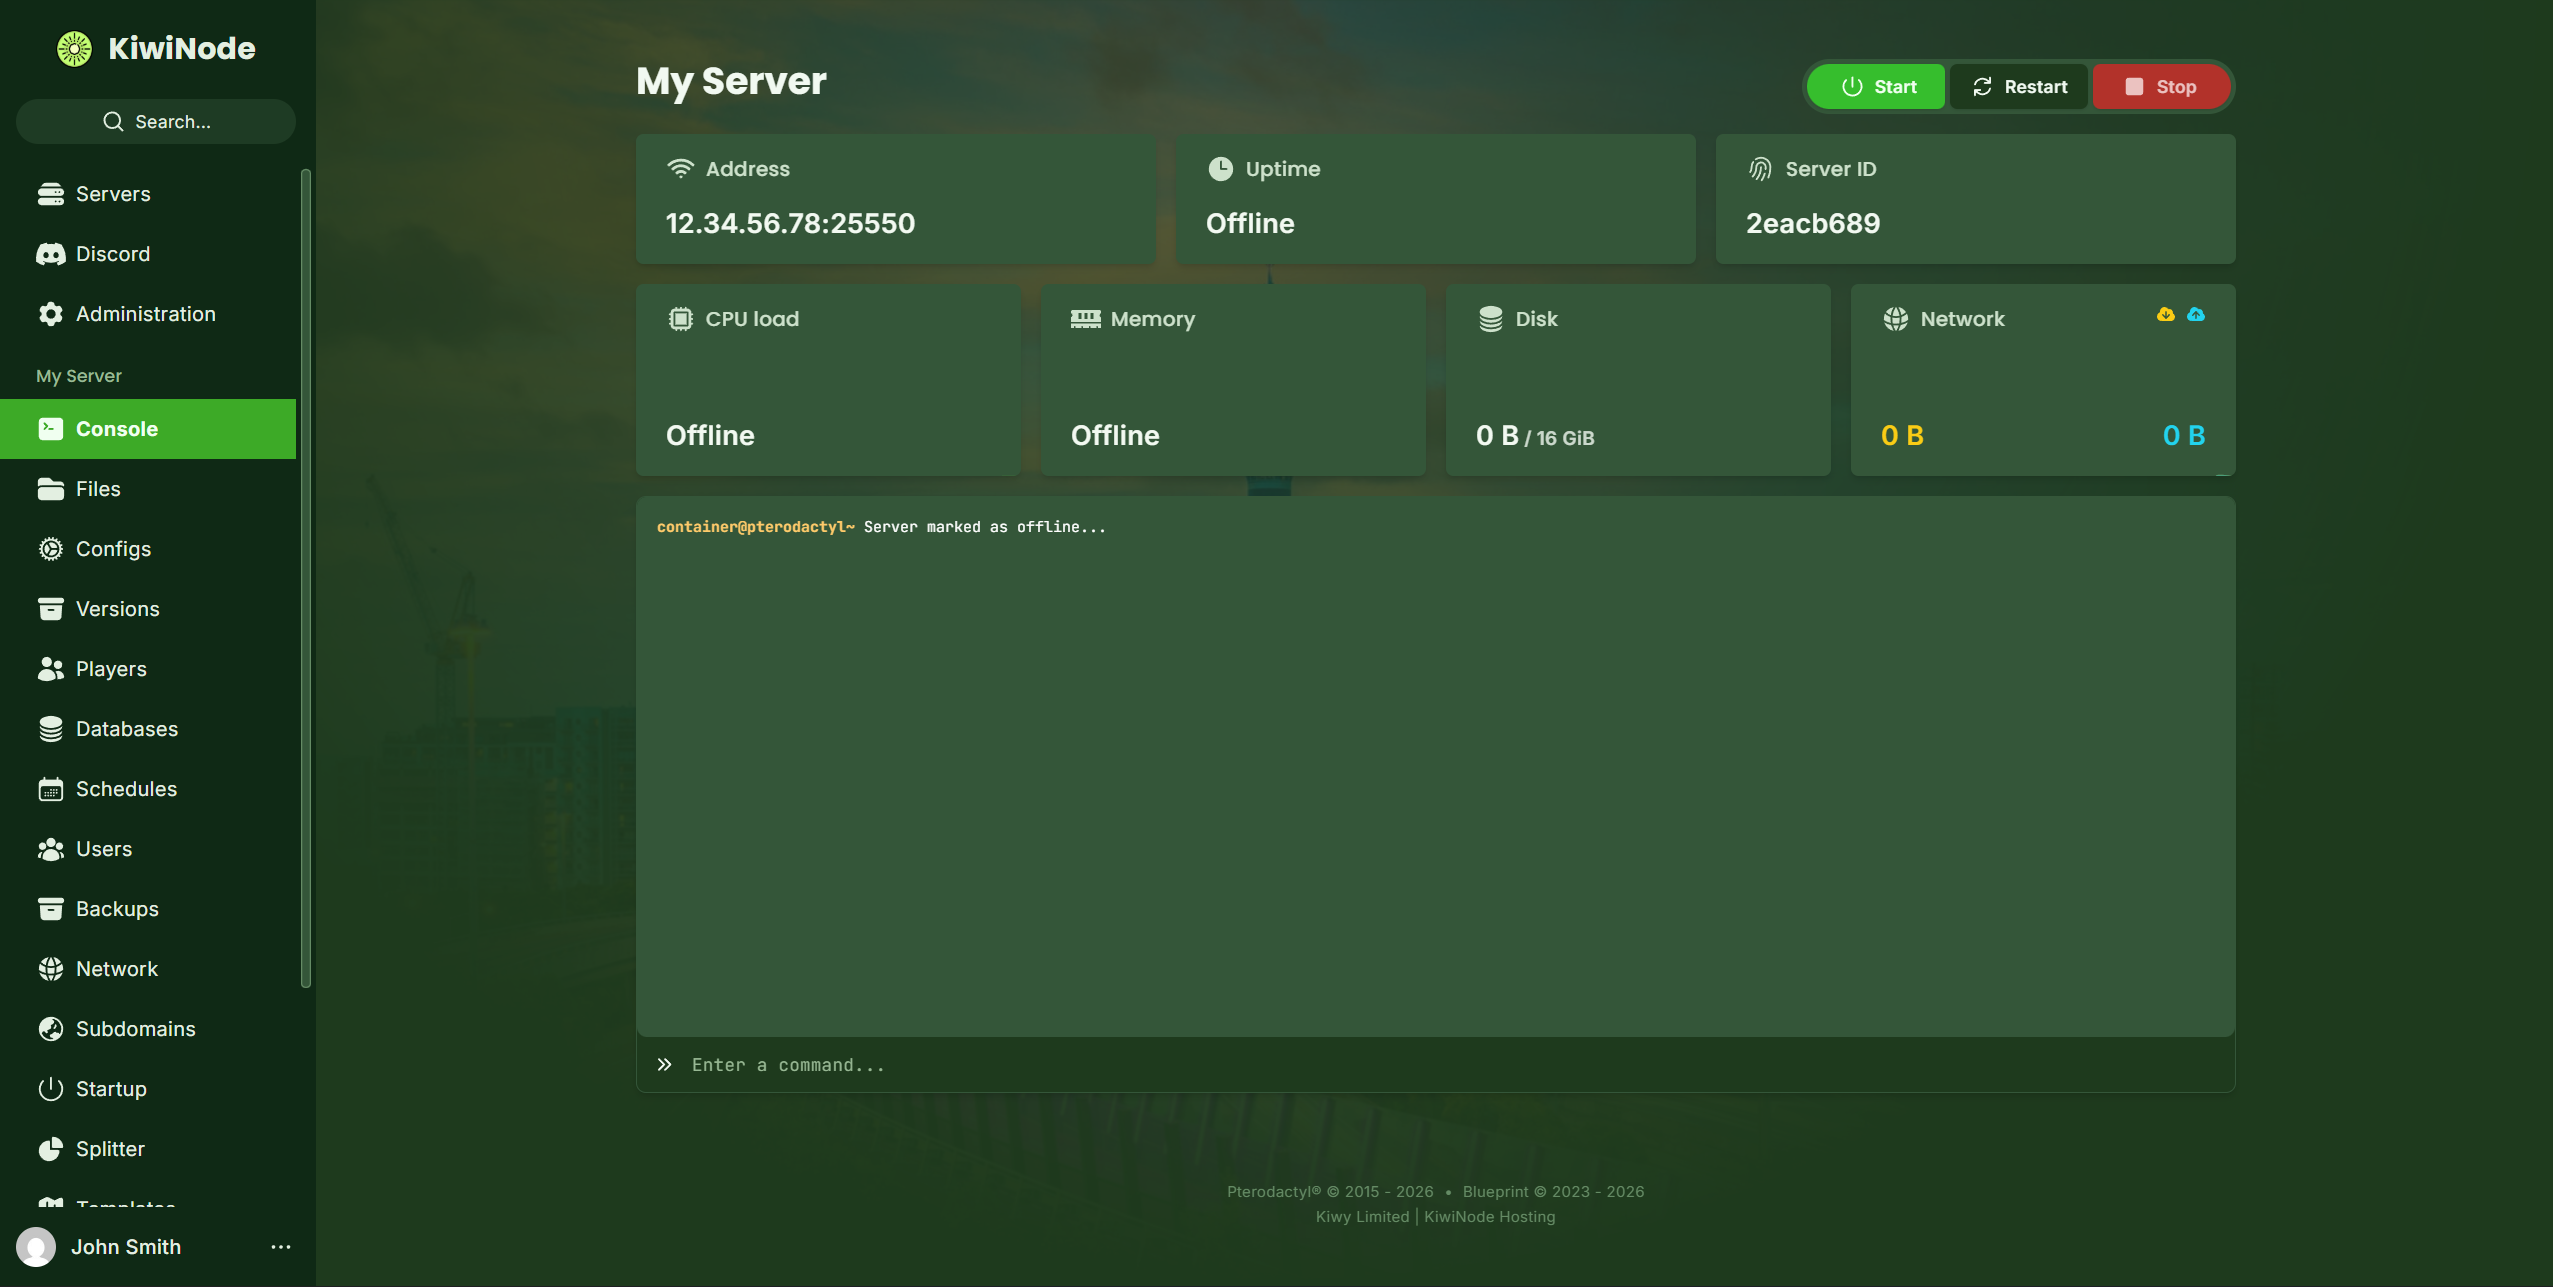
Each server comes with a game management panel where you can control everything, including:
Starting and stopping your server
Viewing the console
Uploading files
Installing plugins or mods
Creating backups
Need Help?
If you ever get stuck, we’re here for you.
You can reach out through:
The Helpcenter
Support tickets
Our Discord community
That’s it — you’re officially ready to host with KiwiNode 🎉